Hi All
It's been a while since I posted something "On My Work Bench" since I lost pictures on the web hosting site ,I thought I would start a new thread.
I started this kit in January , but have not had much time to finish it.
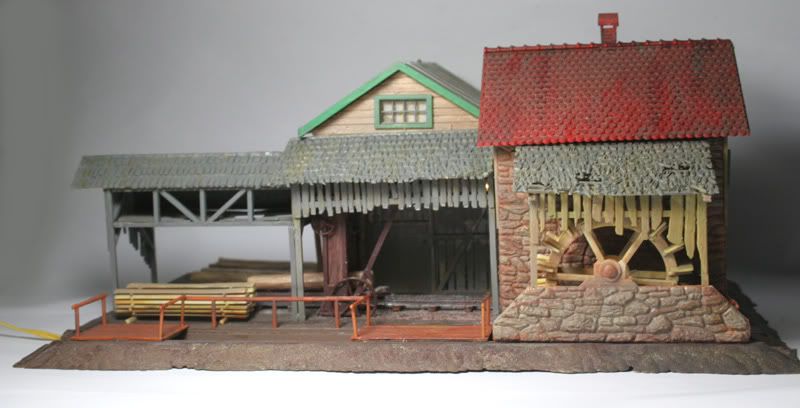
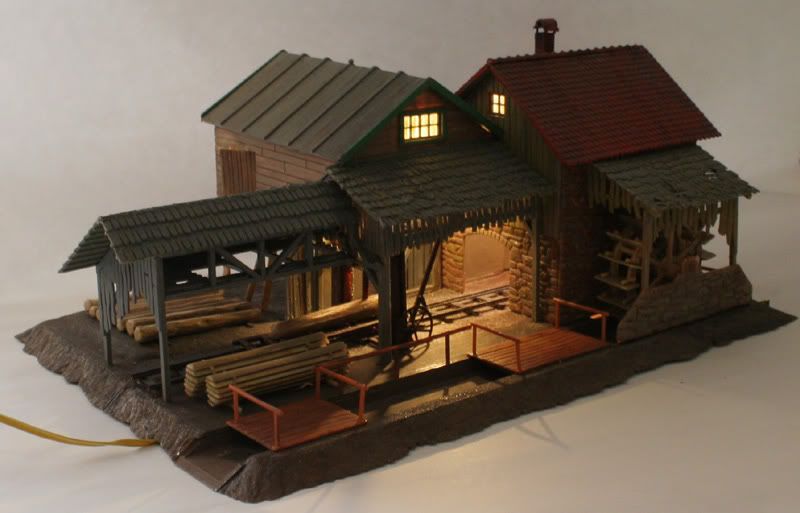
This is an old Faller Kit , a Saw Mill # B-230. I had two of these kits so I thought I would get started with this one

The thing about most of these plastic kits is they tend to be glossy looking
In the bad old days of enamel paints , it took ages for the paint to dry , before you could handle the parts
with water based paint , it is so much more enjoyable.
First I painted what I could on the sprues , blended colours together , dry brushed , changed a few colours totally
The original window frames were a stark white!
I really enjoy this part
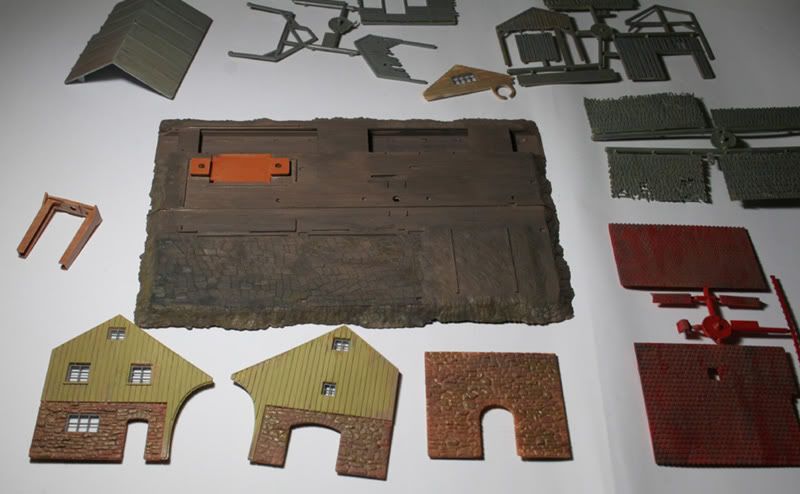
Most of the gloss is gone
Then a bit of assembly
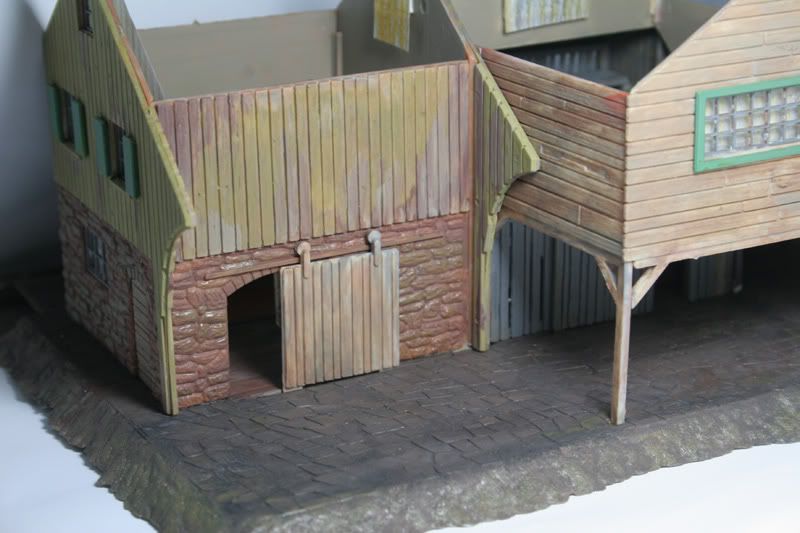
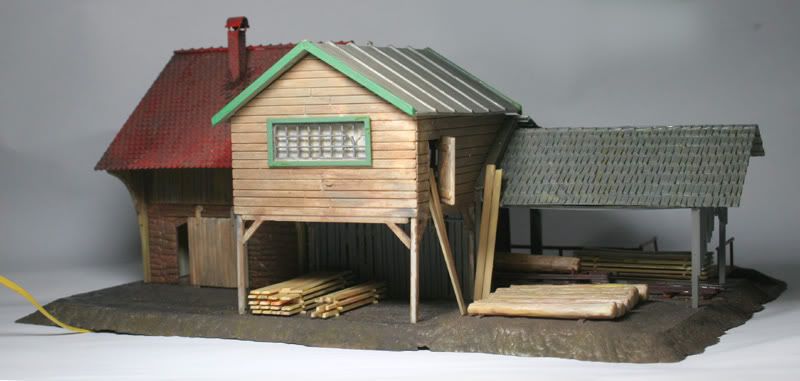
After putting things together I touch up the paint a bit more , blend the colours of the sides where they meet , especially the wood of the main building , the colours I chose for this are also quite different to the original plastic colours.
It's been a while since I posted something "On My Work Bench" since I lost pictures on the web hosting site ,I thought I would start a new thread.
I started this kit in January , but have not had much time to finish it.
This is an old Faller Kit , a Saw Mill # B-230. I had two of these kits so I thought I would get started with this one
The thing about most of these plastic kits is they tend to be glossy looking
In the bad old days of enamel paints , it took ages for the paint to dry , before you could handle the parts
with water based paint , it is so much more enjoyable.
First I painted what I could on the sprues , blended colours together , dry brushed , changed a few colours totally
The original window frames were a stark white!
I really enjoy this part
Most of the gloss is gone
Then a bit of assembly
After putting things together I touch up the paint a bit more , blend the colours of the sides where they meet , especially the wood of the main building , the colours I chose for this are also quite different to the original plastic colours.
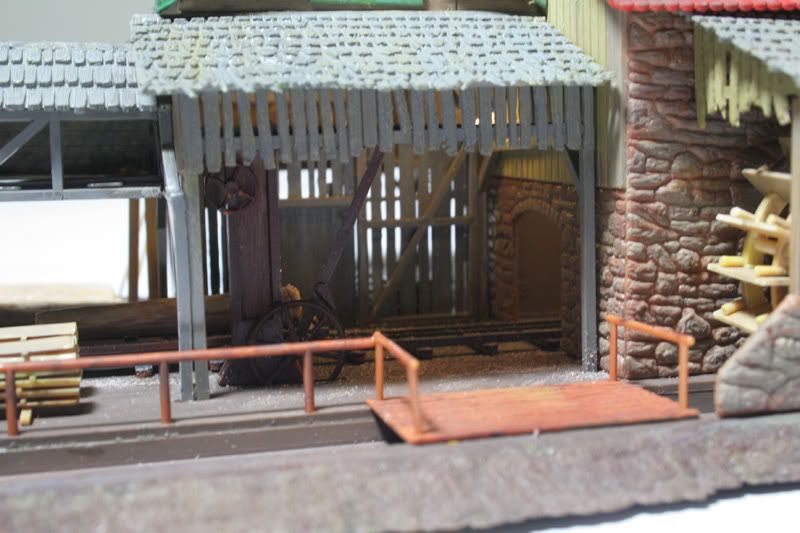
As some of the doors are open ,
and some can be opened and closed I painted the inside of the buildings
with a tan colour. This will also help reducing the "glowing building
effect" from the internal light.
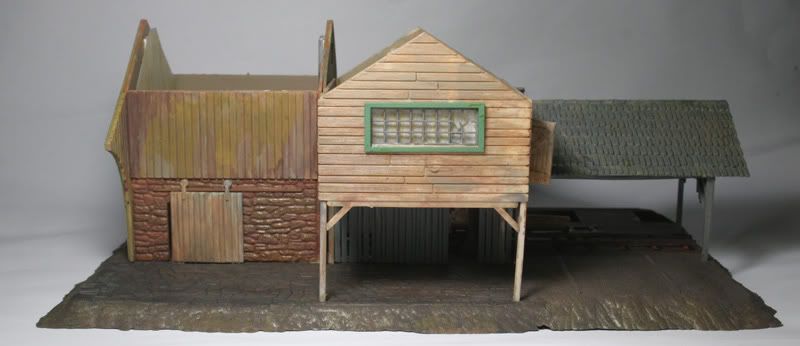
I added some paper with a vertical stripe pattern against the windows , covering the whole wall of one end
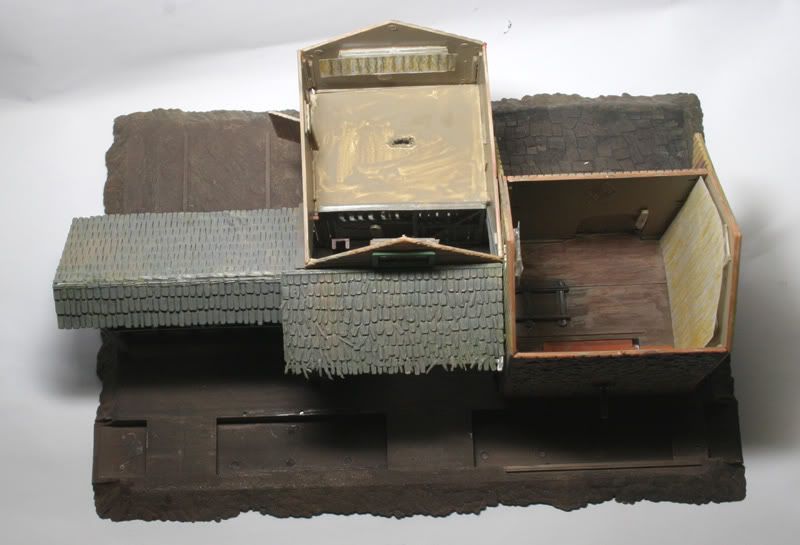
I added three 3mm LEDs , two as indirect lighting and one as a flood over the saw area , shining down fro the main building to the saw. I glue foil against the underside of the roof to reflect the light back down -I ended up adding a bit more than is pictured here.
The main building I glued some white card , to do the same .
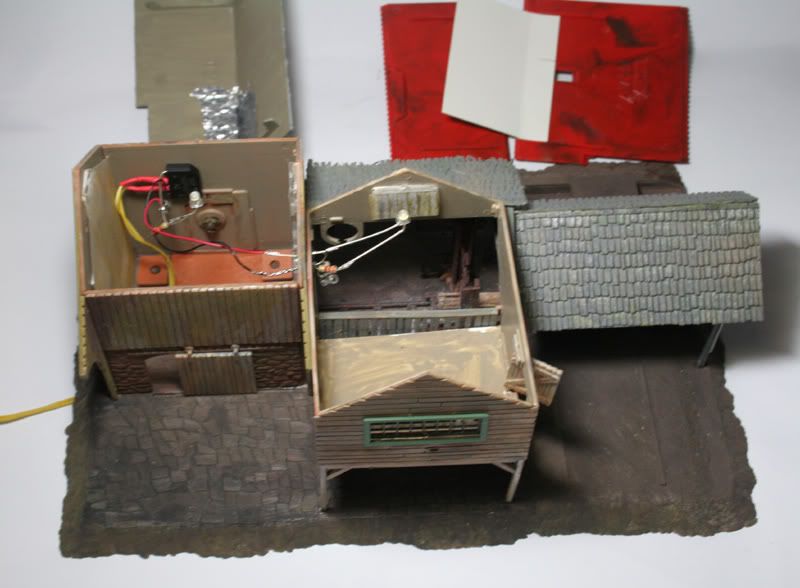
The Indirect LEDs are powered through a 3.3kOhm resistor , the direct "flood light" through a 8kOhm
I added some paper with a vertical stripe pattern against the windows , covering the whole wall of one end
I added three 3mm LEDs , two as indirect lighting and one as a flood over the saw area , shining down fro the main building to the saw. I glue foil against the underside of the roof to reflect the light back down -I ended up adding a bit more than is pictured here.
The main building I glued some white card , to do the same .
The Indirect LEDs are powered through a 3.3kOhm resistor , the direct "flood light" through a 8kOhm
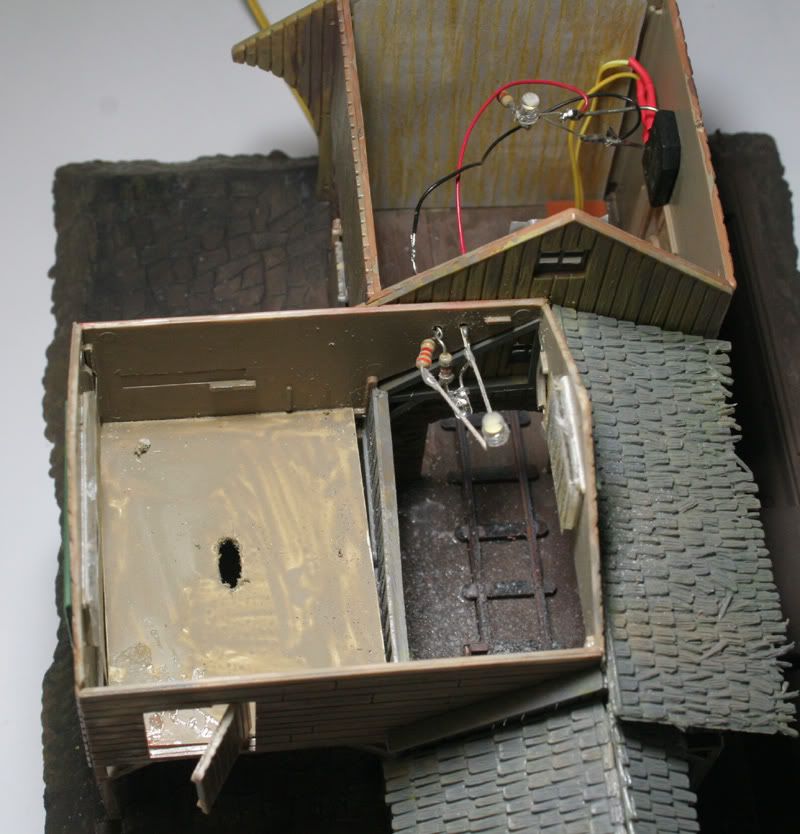
You can see the beginnings of the added saw dust in the last picture of the previous post.
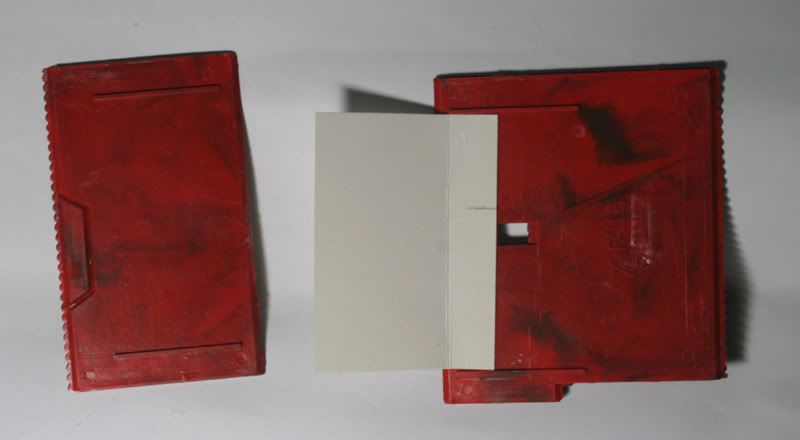
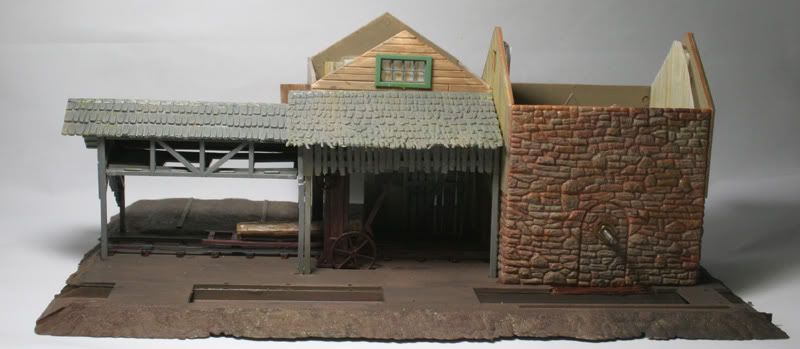
Details of the two roofs

I painted the Resistors and wire black as the resistors are visible through one of the opening doors , the floor of the loft is also a piece of cardboard to stop to much light spilling out .

Then the roofs can be put on , I usually check a few times to see if light spills or makes the plastic glow
and from there adjust , the fitting of the reflectors and internal paint to stop light leakage.
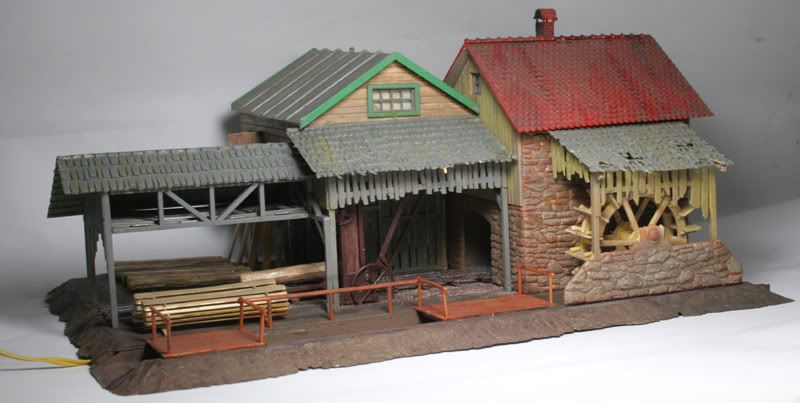
Details of the two roofs
I painted the Resistors and wire black as the resistors are visible through one of the opening doors , the floor of the loft is also a piece of cardboard to stop to much light spilling out .
Then the roofs can be put on , I usually check a few times to see if light spills or makes the plastic glow
and from there adjust , the fitting of the reflectors and internal paint to stop light leakage.
Here is a few more detailed pictures

and finally
and finally
No comments:
Post a Comment